


In a world where every moment feels Instagram-worthy, iPhone photos pile up faster than laundry on a Sunday. If you’ve ever frantically scrolled through your camera roll searching for that one perfect shot, you know the struggle is real. But fear not! There’s a simple way to keep your memories safe and your phone clutter-free: copying those precious pics to an external hard drive.
Understanding the Need to Copy Photos
Managing a large collection of photos can become overwhelming. Many individuals find it difficult to locate specific images among thousands stored on their iPhones. Copying photos to an external hard drive offers effective storage solutions. Organizing pictures outside the device helps to maintain a tidy camera roll.
Freeing up space on the iPhone is another key benefit. Frequent captures can fill available storage quickly, impacting phone performance. By transferring images, users can improve their device’s functionality. External hard drives provide ample space for high-resolution files.
Additionally, utilizing external storage ensures photos are safeguarded. Data loss due to device malfunctions or accidental deletions poses a risk. Keeping copies on hard drives creates a backup, maintaining precious memories securely. Enhanced organization can lead to easier access when searching for specific events or moments.
It’s beneficial to keep photos categorized by year, event, or location. This method simplifies retrieval and enjoyment of memories. Instantly finding that perfect picture becomes more attainable with proper organization. Users can also share organized albums with family or friends, enhancing the viewing experience.
Finalizing the transfer process encourages regular updates. Consistently moving photos to external hard drives maintains a manageable camera roll. This practice allows users to capture more moments without the worry of overflowing storage.
Preparing Your External Hard Drive
Setting up an external hard drive ensures a smooth transfer of iPhone photos. Necessary steps make the process efficient and user-friendly.
Choosing the Right External Hard Drive
Selecting an external hard drive involves considering storage capacity and speed. A drive with at least 1TB provides ample space for a significant number of photos. Options like SSDs offer faster data transfer rates compared to traditional HDDs. Compatibility with both macOS and Windows systems ensures seamless access. Portability may also be essential, especially for users who travel frequently with their devices.1
Formatting the Hard Drive
Formatting the hard drive aligns its file system with users’ needs. For best compatibility, consider formatting to exFAT, as this supports both macOS and Windows. To format, connect the hard drive to a computer and navigate to the disk management tool. Selecting the correct drive is crucial to prevent data loss. Follow the prompts to erase the drive and set up the desired file system. Completing this step establishes a fresh space ready for photo storage.
Methods to Transfer Photos
Several methods exist for transferring photos from an iPhone to an external hard drive, making it straightforward to organize and back up important memories.
Using a Computer
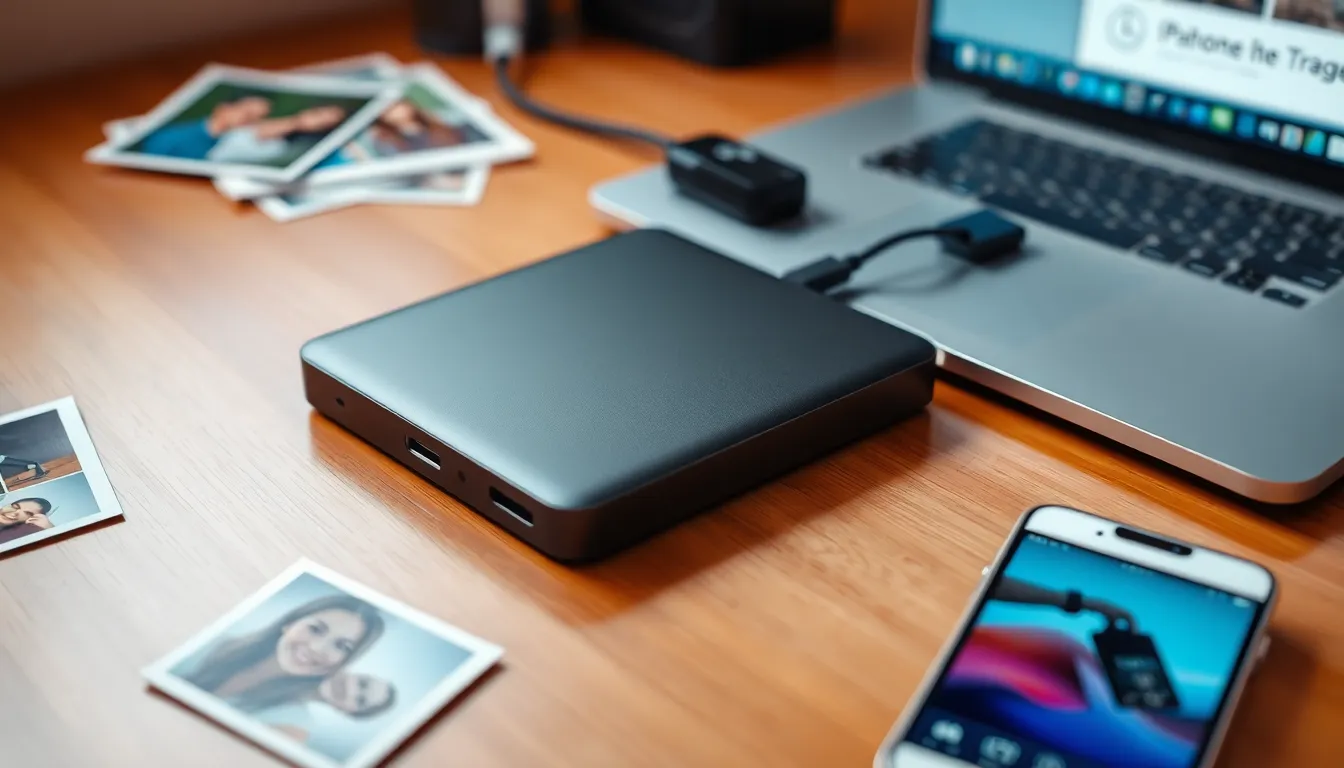
Transferring photos via a computer operates seamlessly. Connect the iPhone to the computer using a USB cable, ensuring the computer recognizes the device. Open the appropriate application on the computer, like Photos on macOS or File Explorer on Windows. Select the iPhone in the application and browse through the photo library. Users can easily choose individual images or select all for transfer. After making selections, click the export or import option, directing the files to the external hard drive. It’s important to double-check that the hard drive has sufficient storage available. Upon completion, safely eject the iPhone and the hard drive to ensure data integrity.
Using Cloud Storage
Cloud storage offers a convenient method for transferring iPhone photos to an external hard drive. Many users prefer this option as it allows for easy access to files from multiple devices. It provides backup capabilities and safeguards against data loss.
Start by selecting a cloud storage service that supports large file transfers. Popular options include Google Drive, Dropbox, and iCloud. Each platform offers various storage capacities, so choose one that fits specific needs. Users typically benefit from at least 2TB of storage for extensive photo collections.
After selecting a service, upload photos from the iPhone to the cloud. Open the chosen app on the iPhone, then select the photos for upload. Tap the upload button, and the photos will start transferring to the cloud. Ensuring a stable internet connection during this process is crucial, as interruptions can lead to incomplete uploads.
Once the photos are safely in the cloud, access them from a computer. Log into the cloud storage account using a web browser or the respective app on the computer. Navigate to the uploaded photo folder, and select the images intended for transfer to the external hard drive.
Finally, download the selected photos to the computer. After the download completes, connect the external hard drive, drag the images into the hard drive’s folder, and ensure the files are stored correctly. Utilizing cloud storage simplifies the process of transferring and securing digital memories while maintaining easy access.
Using Third-Party Applications
Third-party applications simplify the process of copying iPhone photos to an external hard drive. Numerous software options are available that facilitate this task with minimal effort. Popular applications include iMazing, AnyTrans, and CopyTrans Photo. Each provides user-friendly interfaces and clear instructions.
iMazing allows direct transfer from the iPhone to the external drive with just a few clicks. Users first connect their devices and select the photos to export. Afterward, choosing the destination on the external hard drive is all that’s required.
AnyTrans offers a similar experience, supporting bulk transfers for faster photo management. Users can drag and drop images directly into the application and select the hard drive as the output location. It’s efficient and reduces time spent on organizing files.
CopyTrans Photo serves as another reliable option with added features like photo editing and organizing capabilities. Photos can be categorized in albums before being transferred, ensuring a structured layout on the external drive. This additional organization helps maintain tidiness.
Compatibility plays a vital role when selecting these applications. Confirm that the chosen software works seamlessly with both macOS and Windows. This aspect ensures versatility for all users regardless of device preference.
Using these applications generally requires users to follow clear installation processes. Reading the terms and conditions is vital to confirm compatibility and features. Users can then benefit from additional tutorials and support directly from the software developers.
Performance remains optimal with these solutions, especially during large transfers. Having a reliable internet connection boosts efficiency, minimizing interruptions. Finally, these third-party applications streamline the transfer process, making it a practical approach for managing a growing photo library.
Troubleshooting Common Issues
Transferring iPhone photos can sometimes present challenges. Addressing these common issues can improve the transfer experience.
Connection Problems
Connection problems can arise when transferring photos. Users should ensure the USB cable is securely connected to both the iPhone and computer. Restarting both devices often resolves connection issues. It’s also important to check if the iPhone is unlocked and trust the computer for successful data transfer. If the external hard drive isn’t recognized, attempting a different USB port may help. Updating to the latest version of macOS or Windows enhances compatibility with connected devices. Regularly cleaning the USB ports on both the iPhone and computer can prevent connectivity issues.
File Format Compatibility
File format compatibility is essential when transferring files. The external hard drive must support common image formats like JPEG, PNG, and HEIC. Users should verify that the iPhone’s photos are in formats compatible with their intended use. If some files won’t transfer, converting HEIC images to JPEG can solve the problem. This switch can be done directly on the iPhone or through various software applications. Ensuring the external hard drive is formatted to exFAT will facilitate compatibility with both macOS and Windows systems. Keeping software updated helps prevent format-related issues during transfer.
Transferring iPhone photos to an external hard drive is a smart move for anyone looking to manage their digital memories more effectively. By following the outlined methods and tips users can ensure their photo collections remain organized and secure.
Whether opting for a direct transfer via a computer or utilizing cloud storage solutions the process is designed to be user-friendly. Regularly updating the external hard drive not only keeps the camera roll tidy but also enhances the iPhone’s performance.
With the right preparation and tools users can confidently safeguard their cherished moments while enjoying the freedom to capture new ones without storage concerns.